Example
In this example we'll use a particle point cloud and its attributes to shade the particles.
Import the geometry
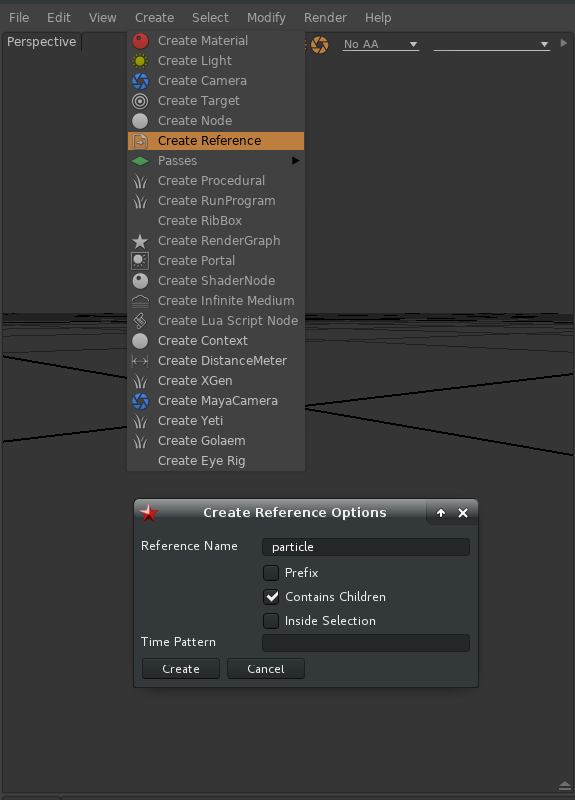
First we load the particle.abc file from the Samples folder.
- Create Reference by clicking Create>Reference
- Select the path of the alembic file, $(SAMPLES)/particle.abc
- Uncheck Prefix, check Contains Children
Setup a simple scene
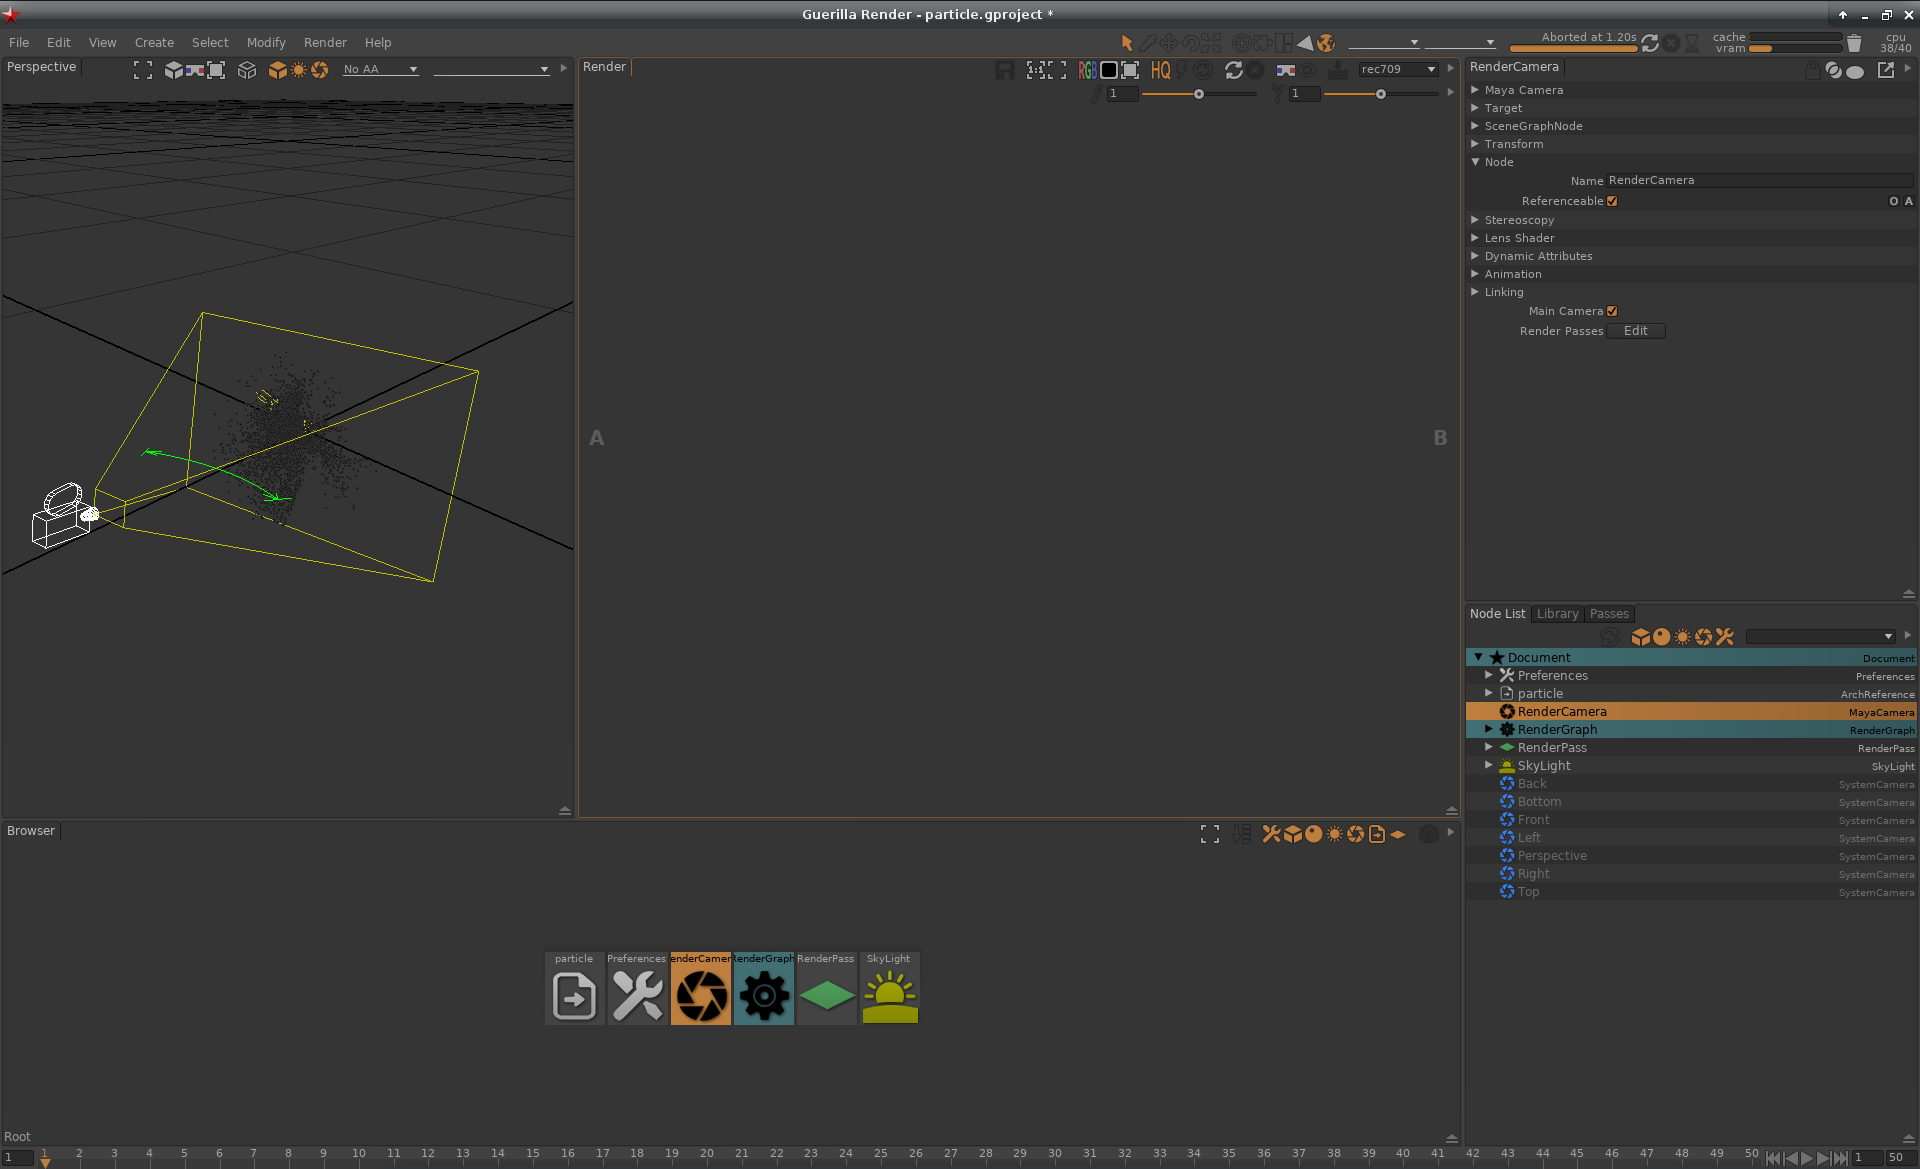
We create a simple scene by adding a skylight and a camera
- Create a SkyLight
- Create a MayaCamera
- Rename the camera RenderCamera
- Check the camera Main Camera box
Setup a simple particle shading
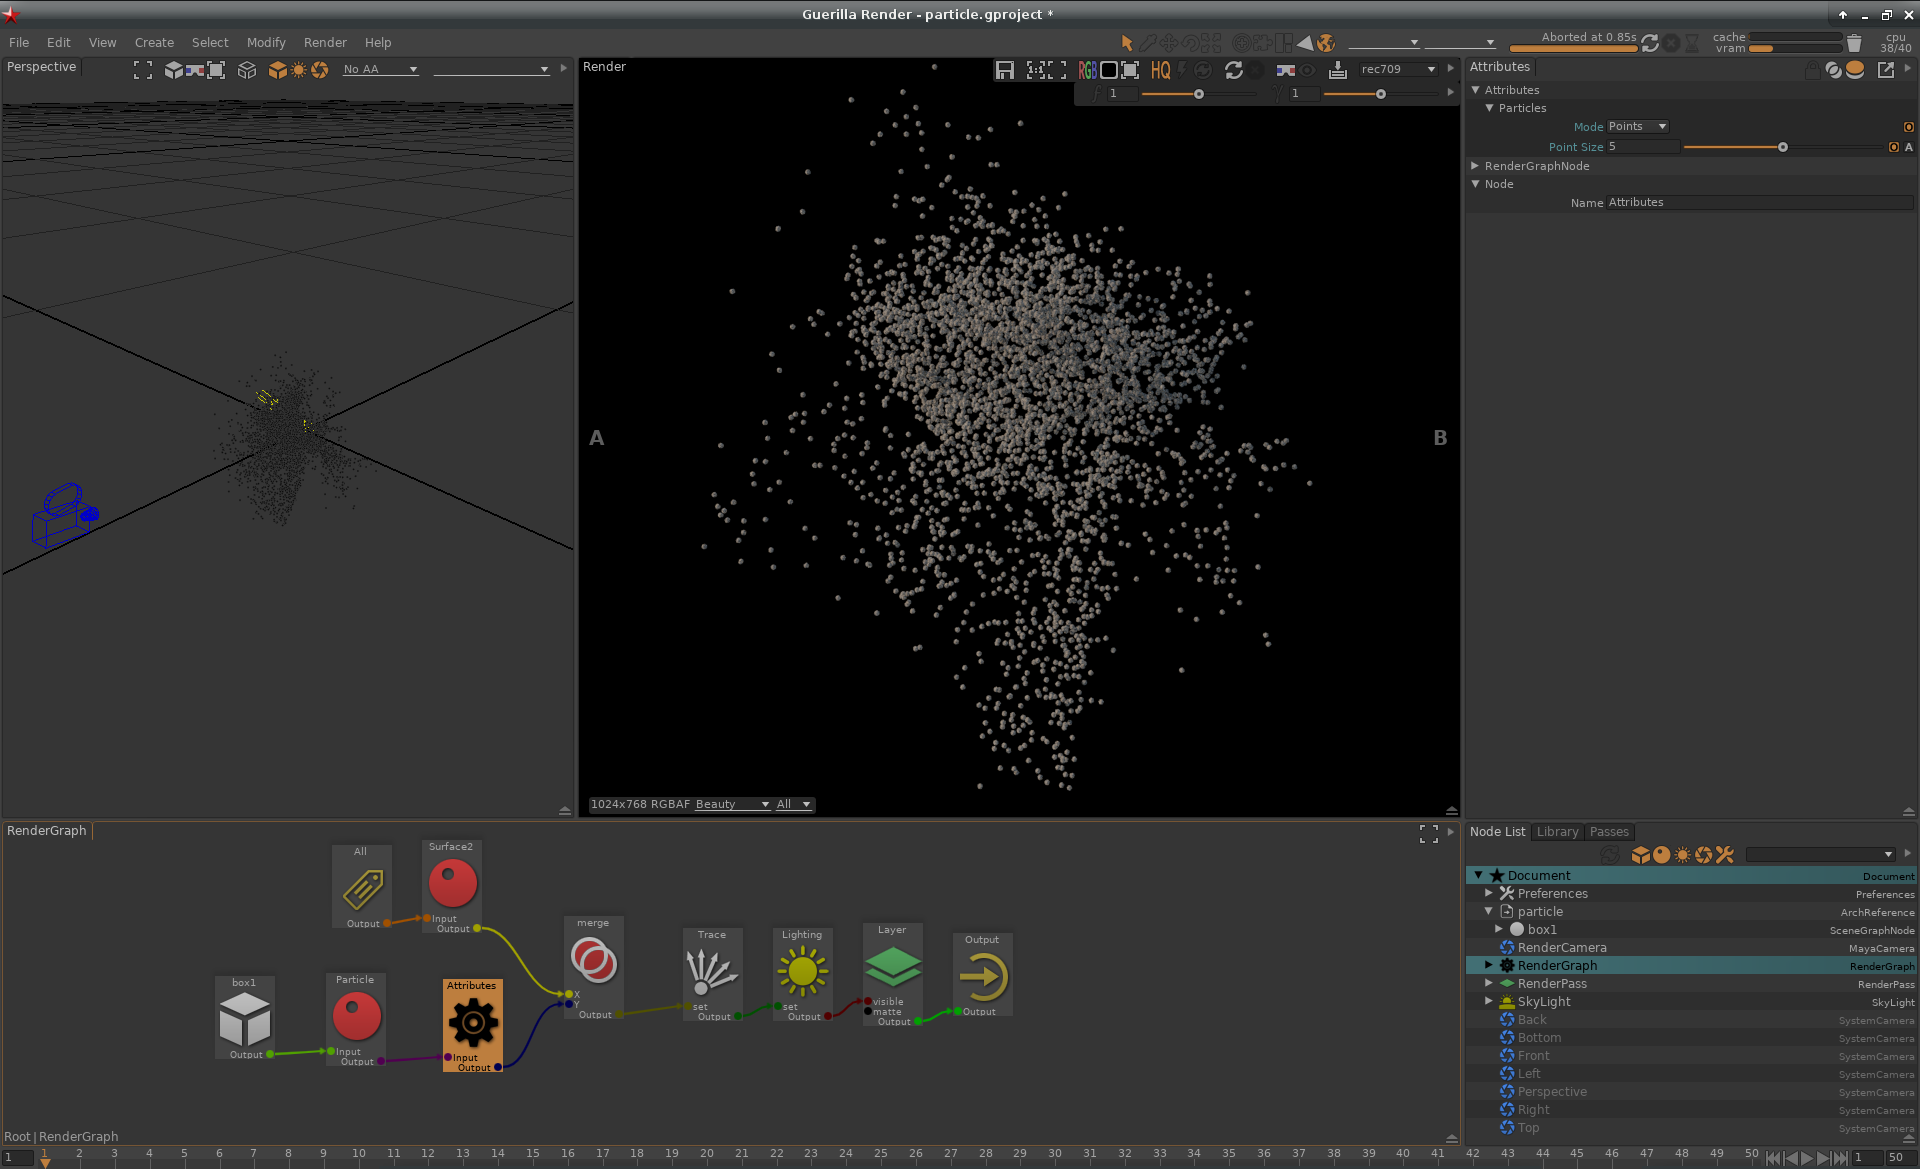
We create a particle material and override the particle size attributes with an Attributes node
- Create a Particle material
- Connect it between the Surface2 and the Trace nodes
- Drag and drop the box1 group into the RenderGraph to create a Path node
- Create an Attributes node between the Particle material and the Merge node
- Into the Attributes node set the Attributes>Particles>Mode to Points
- Into the Attributes node set the Attributes>Particles>Point Size to 5
- Trig a render
Inspect the geometry attributes
We inspect the attributes of the geometry
- Set the Preferences>Rendering>Logs & Diagnostics>Verbosity to Diagnostics
-
check the Preferences>Rendering>Logs & Diagnostics>Diagnostic Shape

- Clear cache by pressing the little cute trash in the top right corner
- Open the console by pressing alt + 2 or View>Show/Hide console
- Trig a render
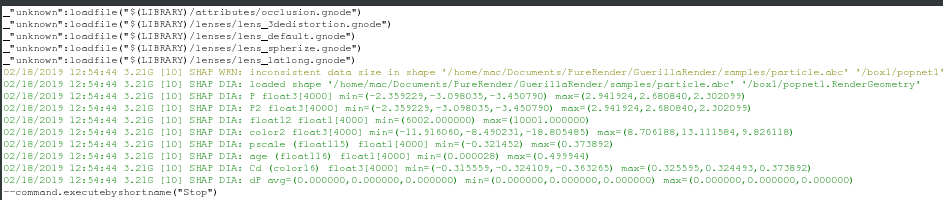
By the way, we are now sure we have have a velocity attribut disguised as color2.
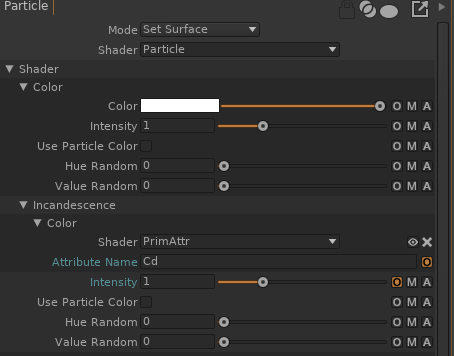
Control the color with a geometry attribut Cd
We create a PrimAttr shader to read the Cd attributes
- Into the Particle material check the Shader>Incandescence>Color>M
- Set this new Shader to PrimAttr
- Set the Attribute Name to Cd
- Set the Shader>Incandescence>Intensity to 1
- Trig a render
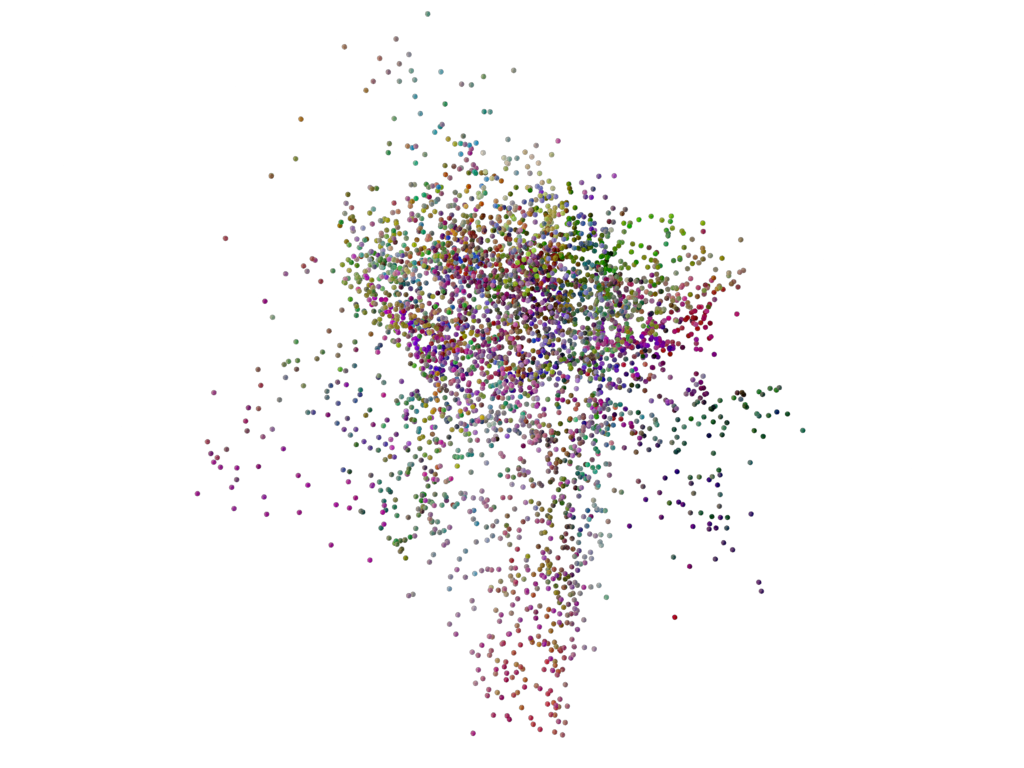
- Smile ;)
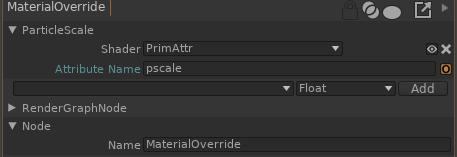
Control the color with a geometry attribut pscale
We create a material override to control the size with the geometry attribut pscale
- Create a MaterialOverride between the Particle material and the Attributes nodes.
- Create an ParticleScale parameter in Float
- Click the ParticleScale>M
- Set the shader to PrimAttr
- Set the Attribute Name to pscale
- Change the Particle point size to 50
